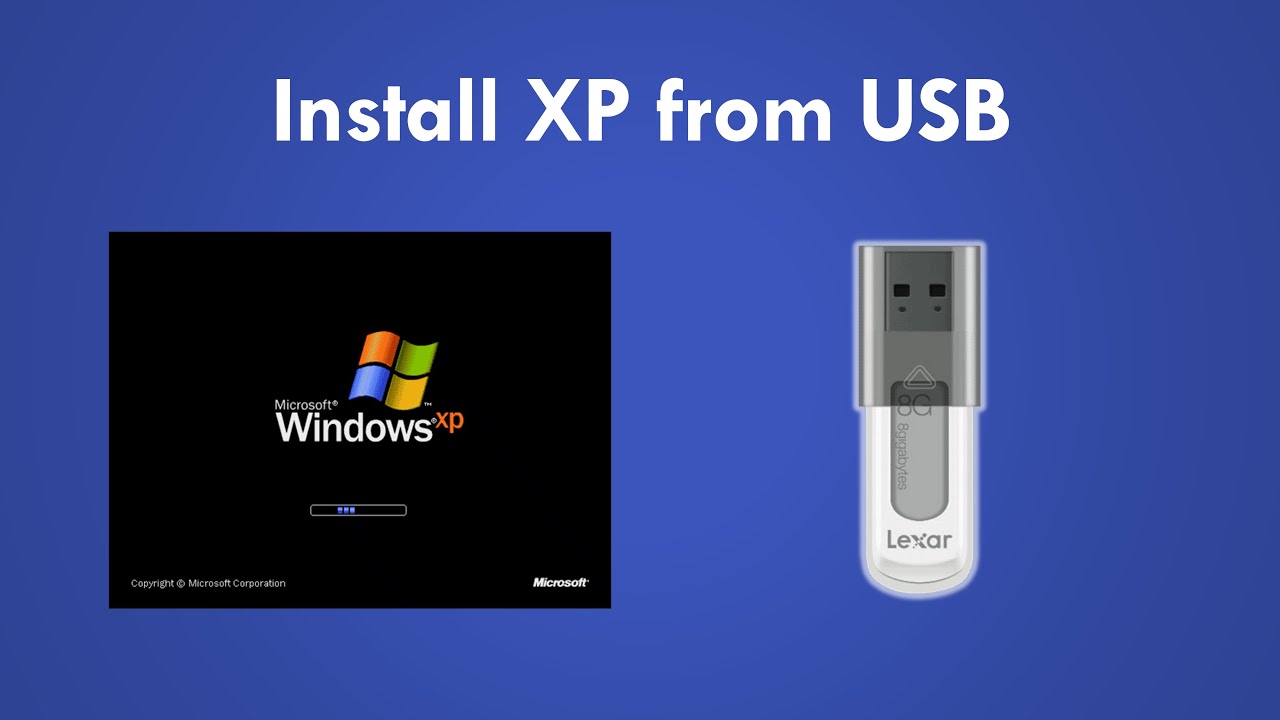
Do you need to install Windows XP? Do you have a USB drive? This guide is for you. We will explain how to install Windows XP from a USB drive. It is easy and simple.
What You Need
- Windows XP ISO file
- A USB drive (at least 4GB)
- Windows computer
- Software to make the USB bootable (like Rufus)
Step 1: Download Windows XP ISO File
First, you need the Windows XP ISO file. This is the file that has the Windows XP installation. You can download it from a trusted website. Make sure it is a legal copy.
Step 2: Download and Install Rufus
Rufus is a free tool. It helps to make your USB drive bootable. You can download Rufus from the official website. Then, install it on your computer.
Step 3: Insert Your USB Drive
Insert your USB drive into your computer. Make sure it has at least 4GB of space. Also, make sure there are no important files on it. The next steps will erase everything on the USB drive.
Step 4: Open Rufus
Open the Rufus program. You will see many options. Do not worry. It is simple.
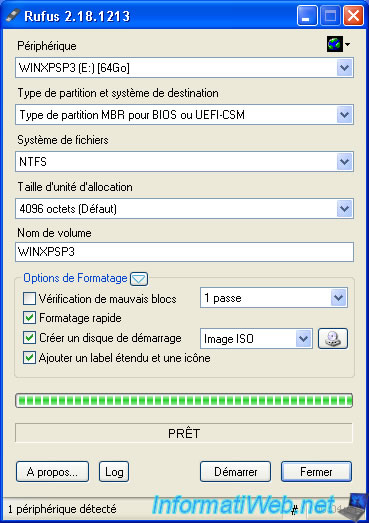
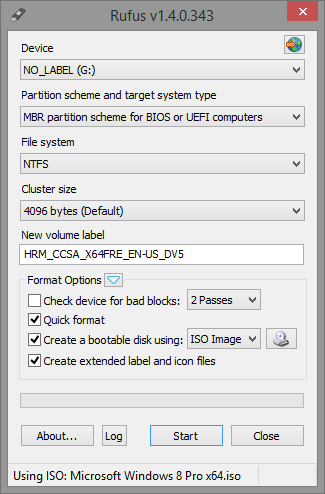
Step 5: Select Your USB Drive
In Rufus, find the “Device” dropdown menu. Select your USB drive from the list. Make sure you choose the correct drive.
Step 6: Select the Windows XP ISO File
In Rufus, find the “Boot selection” dropdown menu. Click on it and choose “Disk or ISO image.” Then, click on the “Select” button. Find the Windows XP ISO file you downloaded earlier. Select it.
Step 7: Start the Process
Now, everything is ready. Click on the “Start” button. Rufus will start making your USB drive bootable. This can take a few minutes. Do not remove the USB drive during this process.
Step 8: Boot from the USB Drive
After Rufus finishes, you can use the USB drive to install Windows XP. Insert the USB drive into the computer where you want to install Windows XP. Restart the computer.
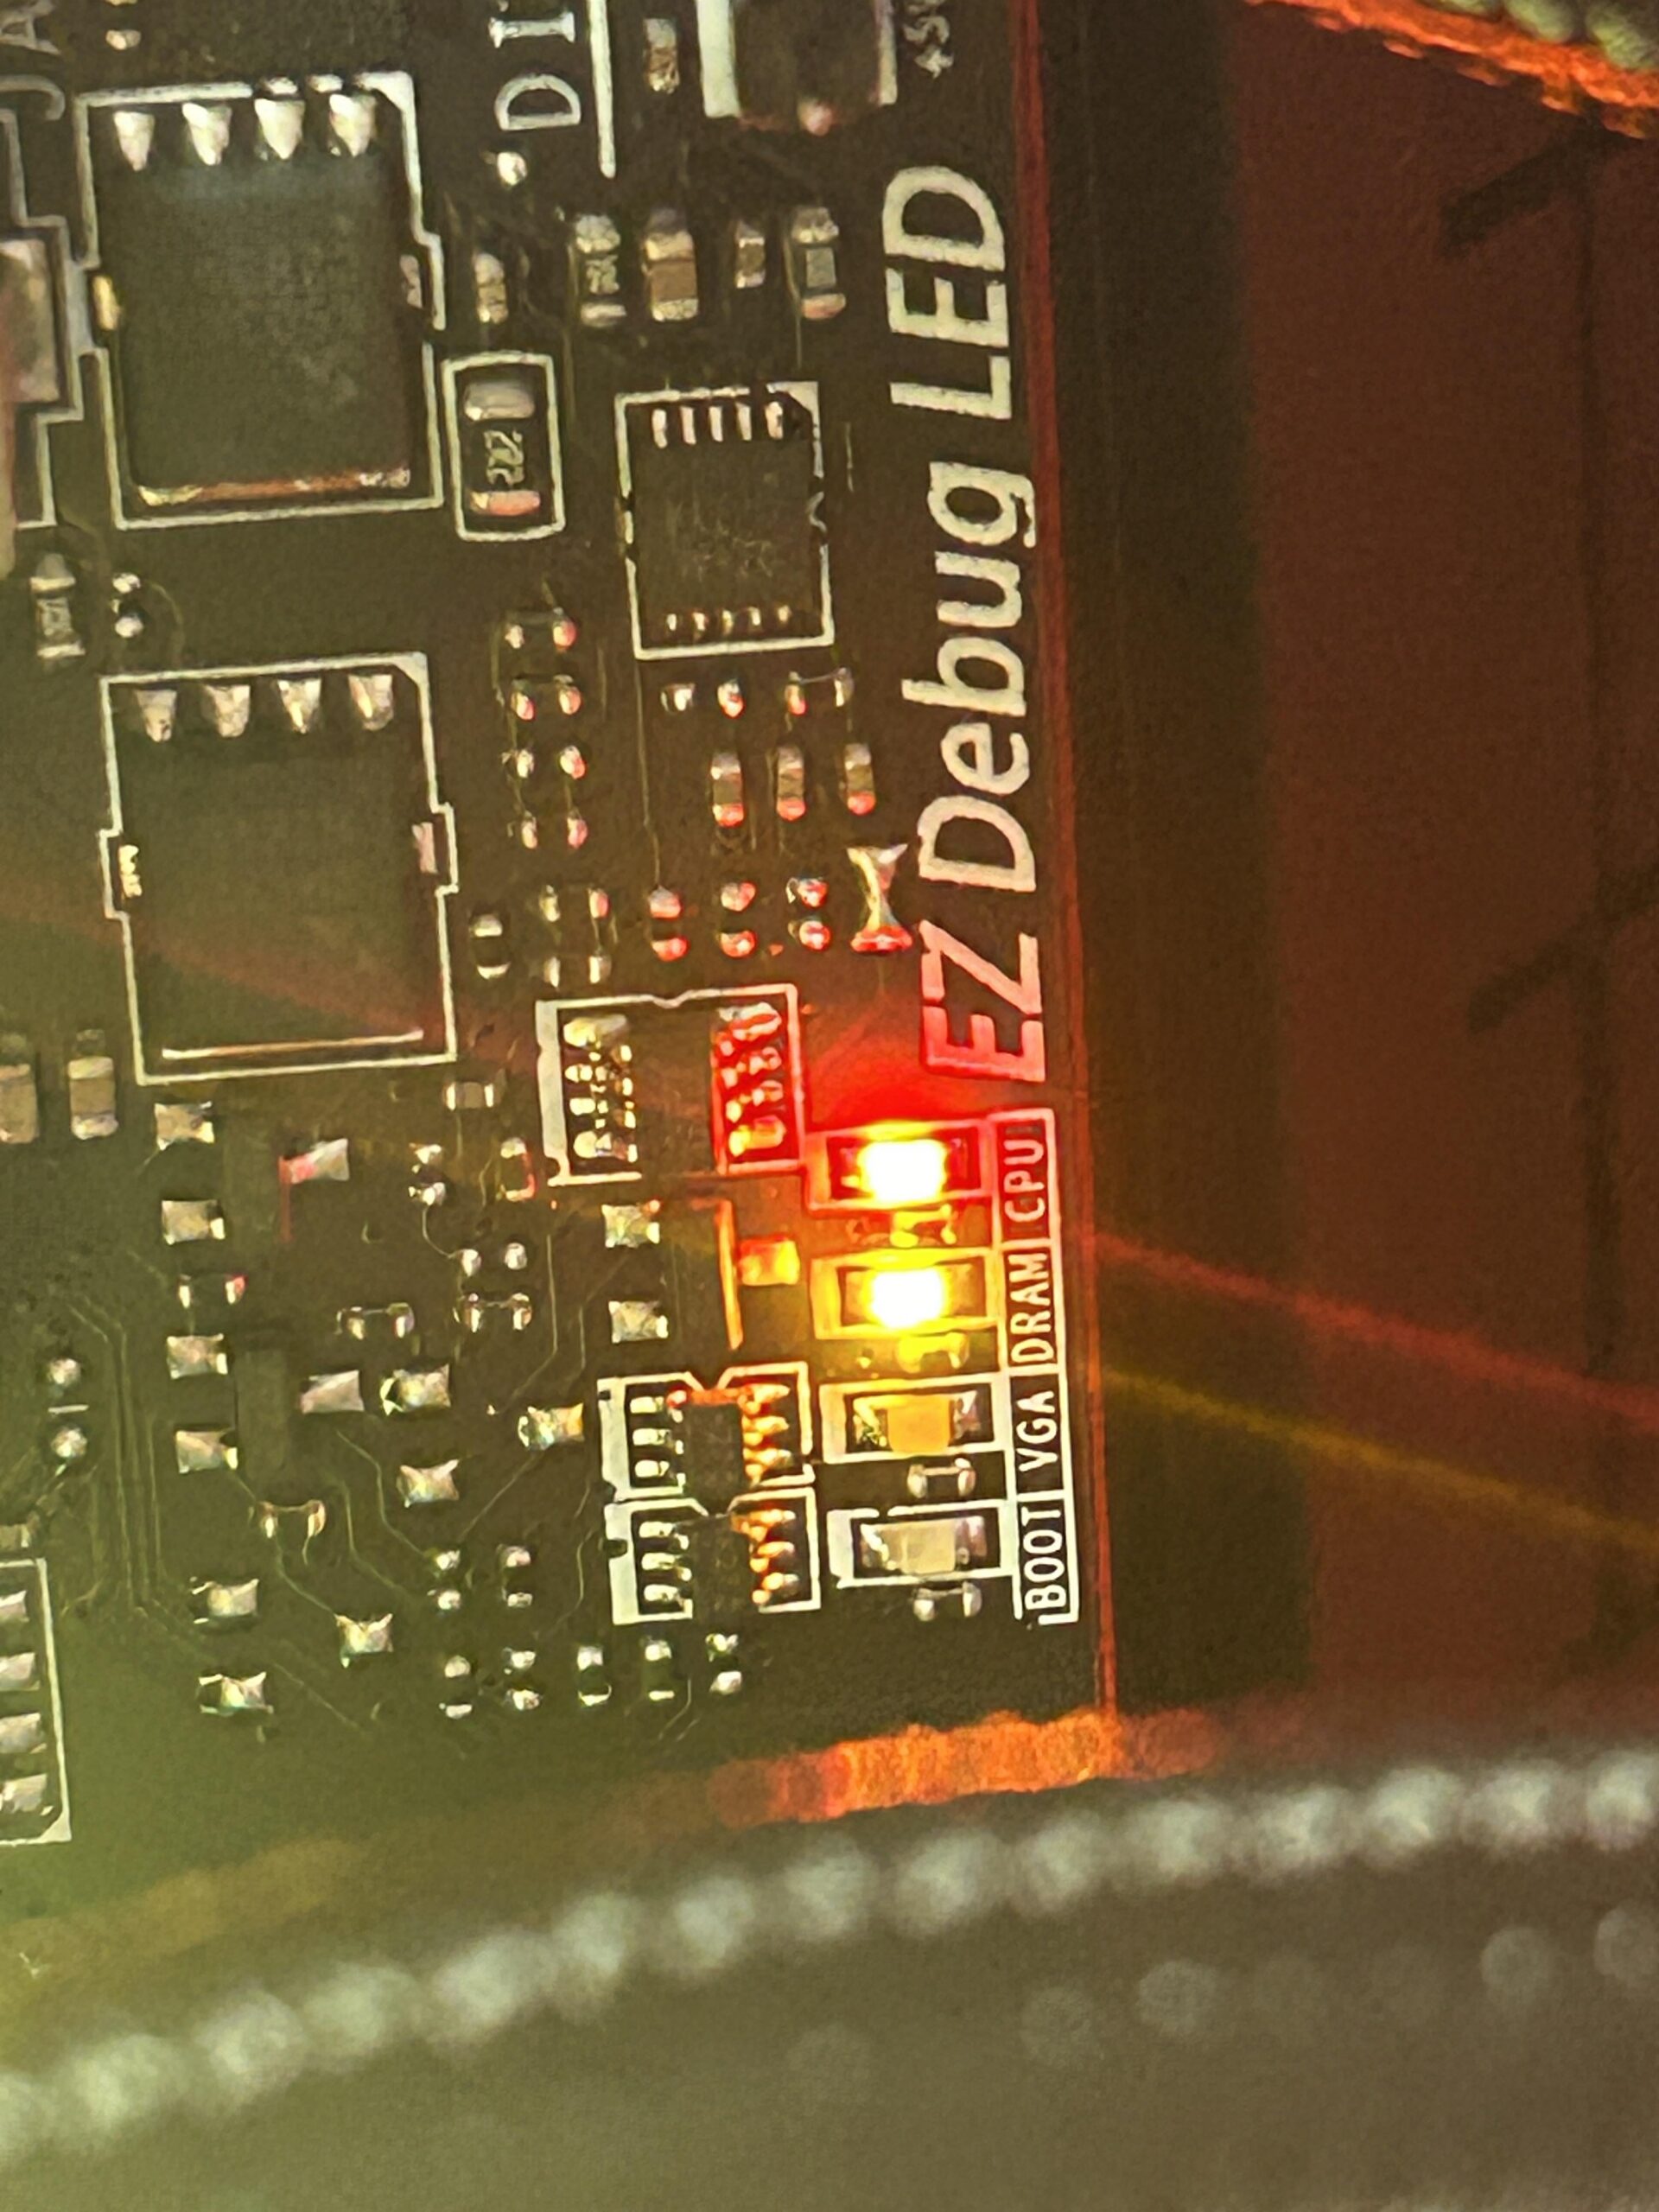
Step 9: Enter BIOS
When the computer starts, press a key to enter BIOS. This key can be F2, F10, Del, or Esc. It depends on your computer. Look for a message on the screen that tells you which key to press.
Step 10: Change Boot Order
In BIOS, find the “Boot” menu. Change the boot order so the computer boots from the USB drive first. Save the changes and exit BIOS. The computer will restart again.
Step 11: Install Windows XP
The computer will now boot from the USB drive. You will see the Windows XP setup screen. Follow the instructions on the screen. Choose where to install Windows XP. The setup will copy files and restart the computer a few times. Do not remove the USB drive until the installation is complete.
Step 12: Complete the Installation
After the installation is complete, the computer will start Windows XP. You can remove the USB drive now. Follow the setup wizard to complete the setup. Enter your name, product key, and other information. Now, you have installed Windows XP from a USB drive.
Tips and Troubleshooting
Here are some tips to help you:
- Make sure your USB drive is empty before starting.
- Check your BIOS settings if the computer does not boot from the USB drive.
- Use a different USB drive if you have problems.
- Make sure the Windows XP ISO file is not corrupted.
Frequently Asked Questions
Can I Install Windows Xp From Usb?
Yes, you can install Windows XP from a USB drive. Ensure your BIOS supports USB booting.
How Do I Create A Bootable Windows Xp Usb?
Use tools like Rufus or WinToFlash. Follow the step-by-step guide they provide.
What Are The System Requirements For Windows Xp?
Windows XP requires at least 233 MHz processor, 64 MB RAM, and 1. 5 GB hard disk space.
Can I Use Windows Xp On Modern Hardware?
Yes, but you may face compatibility issues with newer hardware components.
Conclusion
Installing Windows XP from a USB drive is easy. You just need a few tools. Follow the steps in this guide. Soon, you will have Windows XP running on your computer. Good luck!